

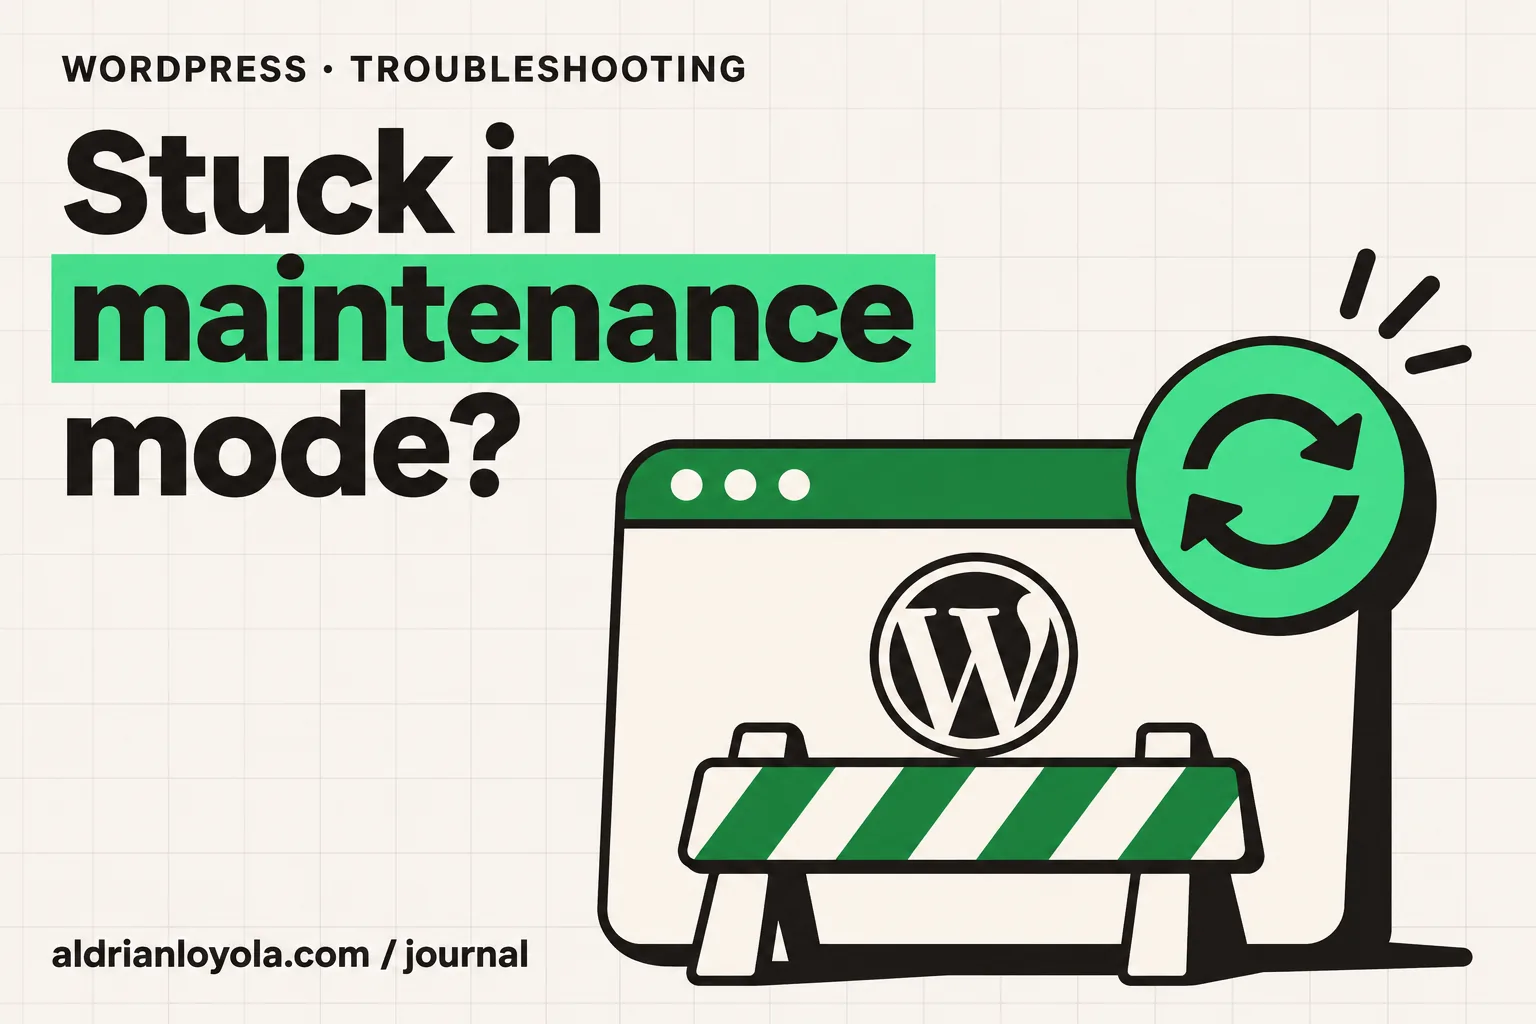
“Briefly unavailable for scheduled maintenance. Please check back in a minute.” This is a normal message during some WordPress updates. It becomes a problem when the update has stopped and visitors continue to see the notice.
A WordPress site stuck in maintenance mode needs a careful check before you remove anything. The message can be caused by a leftover update marker, but it can also come from a maintenance plugin or your host. First establish which system is displaying it.
1. Check whether an update is still running
If you just started an update, allow the process to finish. Avoid starting another update, closing several related tasks, or repeatedly refreshing the update screen.
Check the dashboard and hosting panel for a progress message. If you have a developer working on the site, confirm whether they intentionally enabled maintenance mode.
A business website may also be deliberately paused for a migration or repair. Removing that pause without checking can expose an unfinished checkout or inconsistent database. Establish whether the maintenance message is expected before treating it as a fault.
2. Identify the type of maintenance screen
Record the exact message and take a screenshot. A plain WordPress update notice is different from a branded coming-soon page or hosting maintenance screen.
If the screen includes your logo, a countdown, or a custom contact message, review your maintenance plugin or host’s site controls. The standard WordPress update marker may not be responsible.
Try a normal content URL and the dashboard. Note whether signed-in users can access the website while visitors cannot. Those observations help identify the system controlling access without changing unrelated settings.
3. Preserve the website’s current state
Before using a file manager or changing plugins, create a current backup through the host where possible. Confirm that existing restore points are available too.
If the website takes payments or bookings, note any activity since the last good backup. A failed update does not automatically justify replacing the entire database.
Keep a simple incident note: when updates started, which components were selected, and the last progress message seen. If someone else takes over, they should be able to understand the sequence without repeating potentially risky actions.
4. Check for the WordPress update marker
WordPress uses a file named .maintenance in the installation root during updates. If an update is interrupted, that marker can be left behind.
Use the hosting file manager or SFTP to inspect the correct WordPress installation. It is usually the directory containing the wp-admin and wp-includes folders. A server may host several installations, so verify the domain and directory before editing.
Some file managers hide dotfiles. Enable their display using the file manager’s normal controls if needed. Do not search unrelated customer installations or remove similarly named files without understanding what they belong to.
5. Remove a leftover marker only after confirming the update stopped
If the standard notice is still present and no update is running, removing the leftover .maintenance file is a documented recovery step.
Keep the action narrow. Do not delete the wp-admin folder, plugin folders, or database tables. If you are unsure about the file or installation, ask hosting support to check it for you.
Reload the public website after the change. If the notice remains, do not keep deleting other files. Check caching, maintenance plugins, and hosting controls. The visible message should guide your next step rather than a list of unrelated fixes.
6. Check whether the update completed
Removing a marker can restore access, but it does not prove that every update finished correctly. Return to the dashboard and review the update status.
Look for components still requesting an update, failed update notices, or new errors. Record the installed versions of the affected plugins or theme.
If the update did not complete, create a staging copy and investigate before retrying a large batch. Your host or developer may need to check connectivity, file permissions, storage, or the specific package involved. Use the evidence from the failed operation to decide what to examine.
7. Handle maintenance plugins through their own settings
If a plugin displays the maintenance screen, disable its maintenance mode using the plugin’s normal controls where possible.
Check who should be allowed through during the maintenance period and whether the setting applies to the entire website or selected pages. A rule intended for one page may have been applied more broadly.
Do not uninstall the plugin immediately if it contains custom settings or a planned launch page. First restore the intended access behavior, then decide whether the tool should remain installed. Keep the person responsible for the launch or maintenance window informed.
8. Clear the relevant cached response
After correcting the responsible setting or file, clear the relevant page cache and CDN cache if your site uses them. Then test the website in a private browser session.
A logged-in view can bypass some public caching. Check the same URL as a visitor before declaring the website available again.
If a CDN continues to show a maintenance response, ask your host or developer to inspect the cache behavior. Avoid broadly disabling security or changing DNS as a quick response to a cached page. Use a targeted cache correction.
9. Test the business features
Check the homepage, navigation, important landing pages, and contact form. Confirm the form message reaches the intended inbox.
For a store, verify product pages, cart, checkout, and any relevant payment test flow. If the interrupted update involved memberships or bookings, test those features too.
Look for new warnings or failures that started during the update. Restoring public access is the first part of recovery. Confirming that the updated components work together is what makes the website ready for normal use.
Make the next update easier to recover
Before future changes, create a backup and choose a time when you can check the result. Use staging for major updates and avoid combining a large plugin update with an unrelated hosting migration.
Keep a record of what changed and who made the change. That helps separate an intentional maintenance period from an interrupted process.
My monthly website maintenance checklist covers routine preparation and checks. If an update also damaged the website, read how to recover WordPress after an update.
When to ask for help
Contact your host or developer if you cannot identify the installation root, the update repeatedly fails, or the website handles active customer transactions.
I provide website maintenance and fixes, including update recovery and follow-up testing. For the documented maintenance marker procedure, see the official WordPress troubleshooting FAQ.