
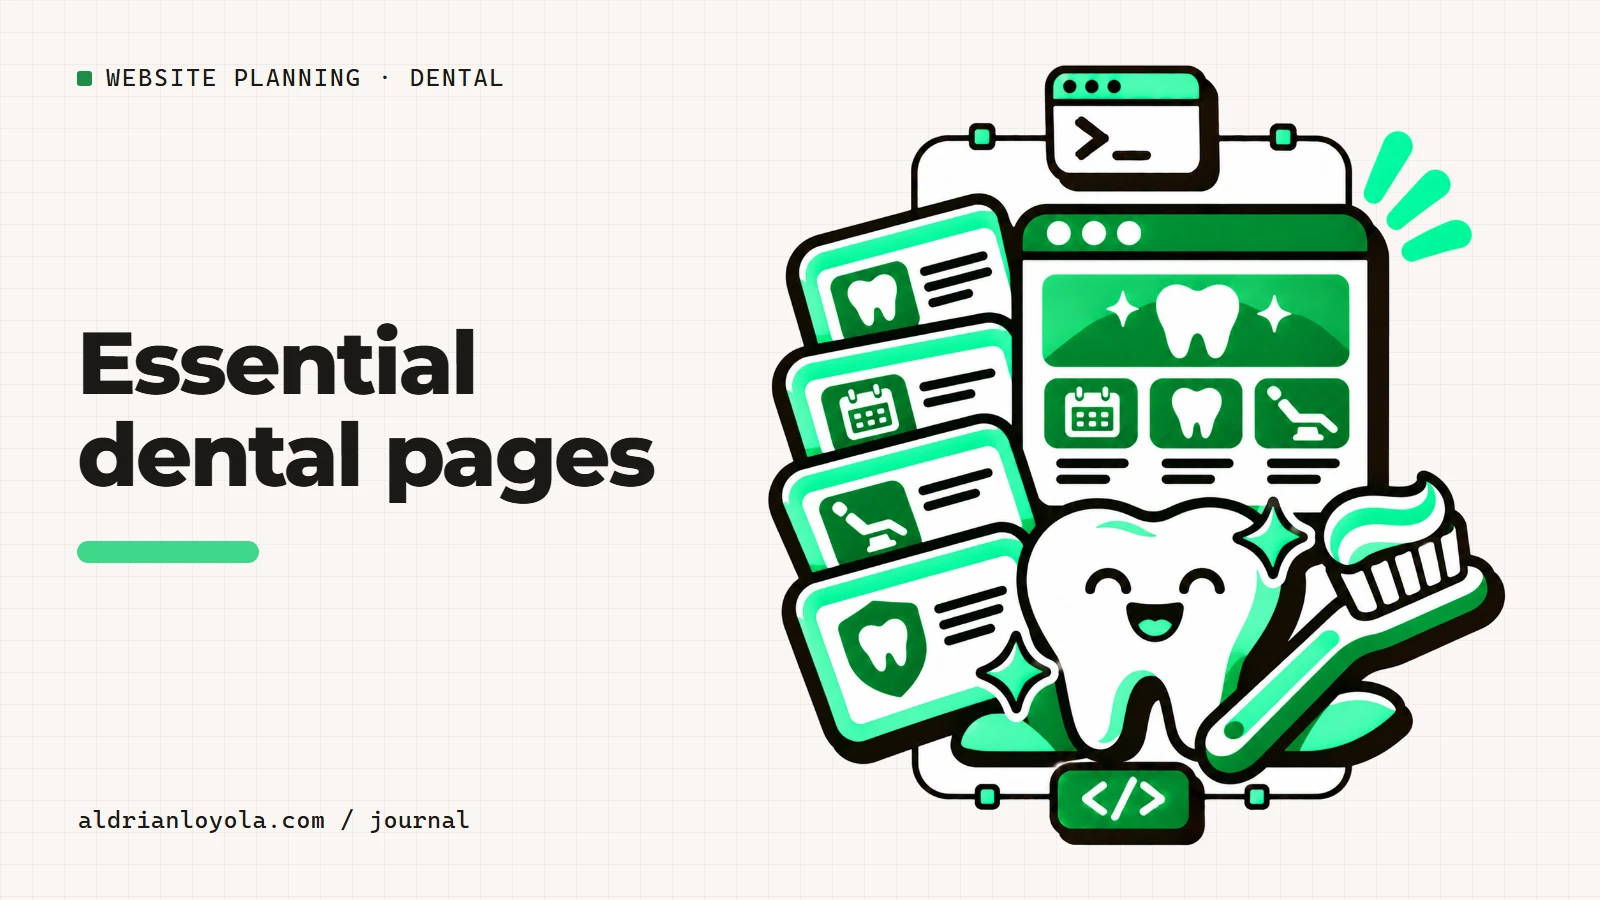
The essential dental website pages are the ones that help a visitor understand the clinic and contact it correctly. That usually begins with a clear homepage, team information, service descriptions, and contact details.
You can organize those jobs into four pages or a larger structure. Choose the size based on the information needed, not a belief that a longer menu is automatically more professional.
Home: explain the clinic quickly
Identify the practice, the broad services offered, and the next step. Keep the contact route visible without making it compete with several unexplained buttons.
Use the actual clinic name and location. A large slogan or photograph should not be the only content a visitor sees before scrolling.
If a temporary notice matters, give it a clear place and an owner who will update it. Do not leave an old closure message in the introduction indefinitely.
About: show who provides the care
Introduce the relevant people with accurate names, roles, and backgrounds. Publish approved photographs and verify credential wording before launch.
A short introduction can work for a small team. A larger practice may need individual profiles, but those pages should contain useful information rather than repeated general biographies.
Do not use stock photos in a way that suggests they show the actual staff. Honest presentation matters more than filling every image slot.
Services: explain what visitors can ask about
Group services under understandable headings and have the responsible clinician review the wording. The purpose is helping someone identify the relevant service, not diagnosing them through a page.
Add separate pages where a topic needs a fuller explanation. Keep the overview page useful so someone can still understand the clinic without opening every link.
Contact: complete the practical journey
Bring hours, directions, monitored contact details, and appointment instructions together. Explain whether visits require confirmation and whether a form submission is only a request.
Check the map against the written address. If several locations exist, make it clear which contact details belong to which clinic.
Add supporting pages for a reason
A blog, resources area, or appointment platform can be useful when it has a clear purpose and someone will maintain it. None should be added simply to make the navigation look fuller.
Review the route between pages. A visitor reading a service should be able to reach the appropriate contact step without returning to the homepage and starting again.
Keep the public page focused on patient information
A dental website should explain the clinic and the route to an appointment. Descriptions of treatments need review by the responsible clinician. Avoid promising a clinical outcome, diagnosing readers, or presenting a general website explanation as personal advice.
Use accurate names, roles, hours, and contact details. If photographs show patients or clinical work, confirm the permission and professional requirements before publishing. Do not invent testimonials or present a concept design as a working clinic with real patients.
A general inquiry form should not ask for medical records or a detailed history. Collect only the information needed to reply and explain the next step. Appointment requests, confirmed appointments, and an integrated booking system are different things; the website should describe the one you actually provide.
If the clinic uses an existing scheduling or patient system, discuss how the public site connects with it. A link is different from an embedded tool or a new custom system. Agree on those requirements before choosing a small informational package.
Set review responsibilities before launch
Choose who approves service wording, who checks the people and schedules shown, and who sends later changes. Combine feedback into one clear request rather than letting several versions circulate. Keep a record of the approved content so future edits can be checked against it.
If the website uses an outside appointment or patient tool, identify who manages that account and its subscription. Agree what happens when a link changes or a service becomes unavailable. A clear owner for each task makes a small website easier to keep accurate after the initial build.
Review the finished pages as a new visitor
Open the site on a phone and try the main task yourself. Read the introduction, find the relevant service, and follow the contact route. Check that text is comfortable to read, controls are easy to use, and important information is not hidden behind decorative effects.
Use a clear title for each page and headings that describe its content. Keep important details in readable text rather than placing the only explanation inside an image. Add links where they help someone reach the next useful page. Basic setup is a foundation, not a guarantee of rankings or inquiries.
Ask one person to check names, contact details, service descriptions, and permissions for photographs or testimonials. A polished layout cannot make inaccurate information useful. Keep a record of the approved content so later changes can be reviewed against it.
Test the inquiry process with agreed sample information and confirm the destination. A short form should help you reply; it should not collect records or credentials that belong in a separate private workflow.
Before approving launch, confirm who controls the domain, who receives renewal notices, and how future updates are requested. My developer hiring questions and pre-launch checklist cover those practical checks in more detail.
What a custom website includes
A custom website includes up to 12 custom-designed pages, a mobile-first build that loads fast, on-page SEO and analytics setup, a contact form delivered to your inbox, and three revision rounds before launch. You provide your approved text, logo, and images, or ask for writing to be quoted with the build.
Every website I build is scoped and priced around what your business actually needs, so there's no one-size-fits-all package. Tell me about your pages, goals, and timeline, and I'll reply with a fixed written quote. Get a quote or send me your requirements.
Online checkout, booking systems, member logins, business email setup, and self-editing all add scope. Put any of those requirements in your brief so the quote includes the work you expect.
You can send me your requirements with your page list, existing domain, and the jobs the website must do. That is a better starting point than comparing headline prices without checking the scope.